This post is all about creating 3D digital content for your GLAM application.
The post will cover:
- Part 1 – Define the need
- Part 2 – Identify the content
- Part 3 – Converting your content to 3D
Part 1 – Define the Need

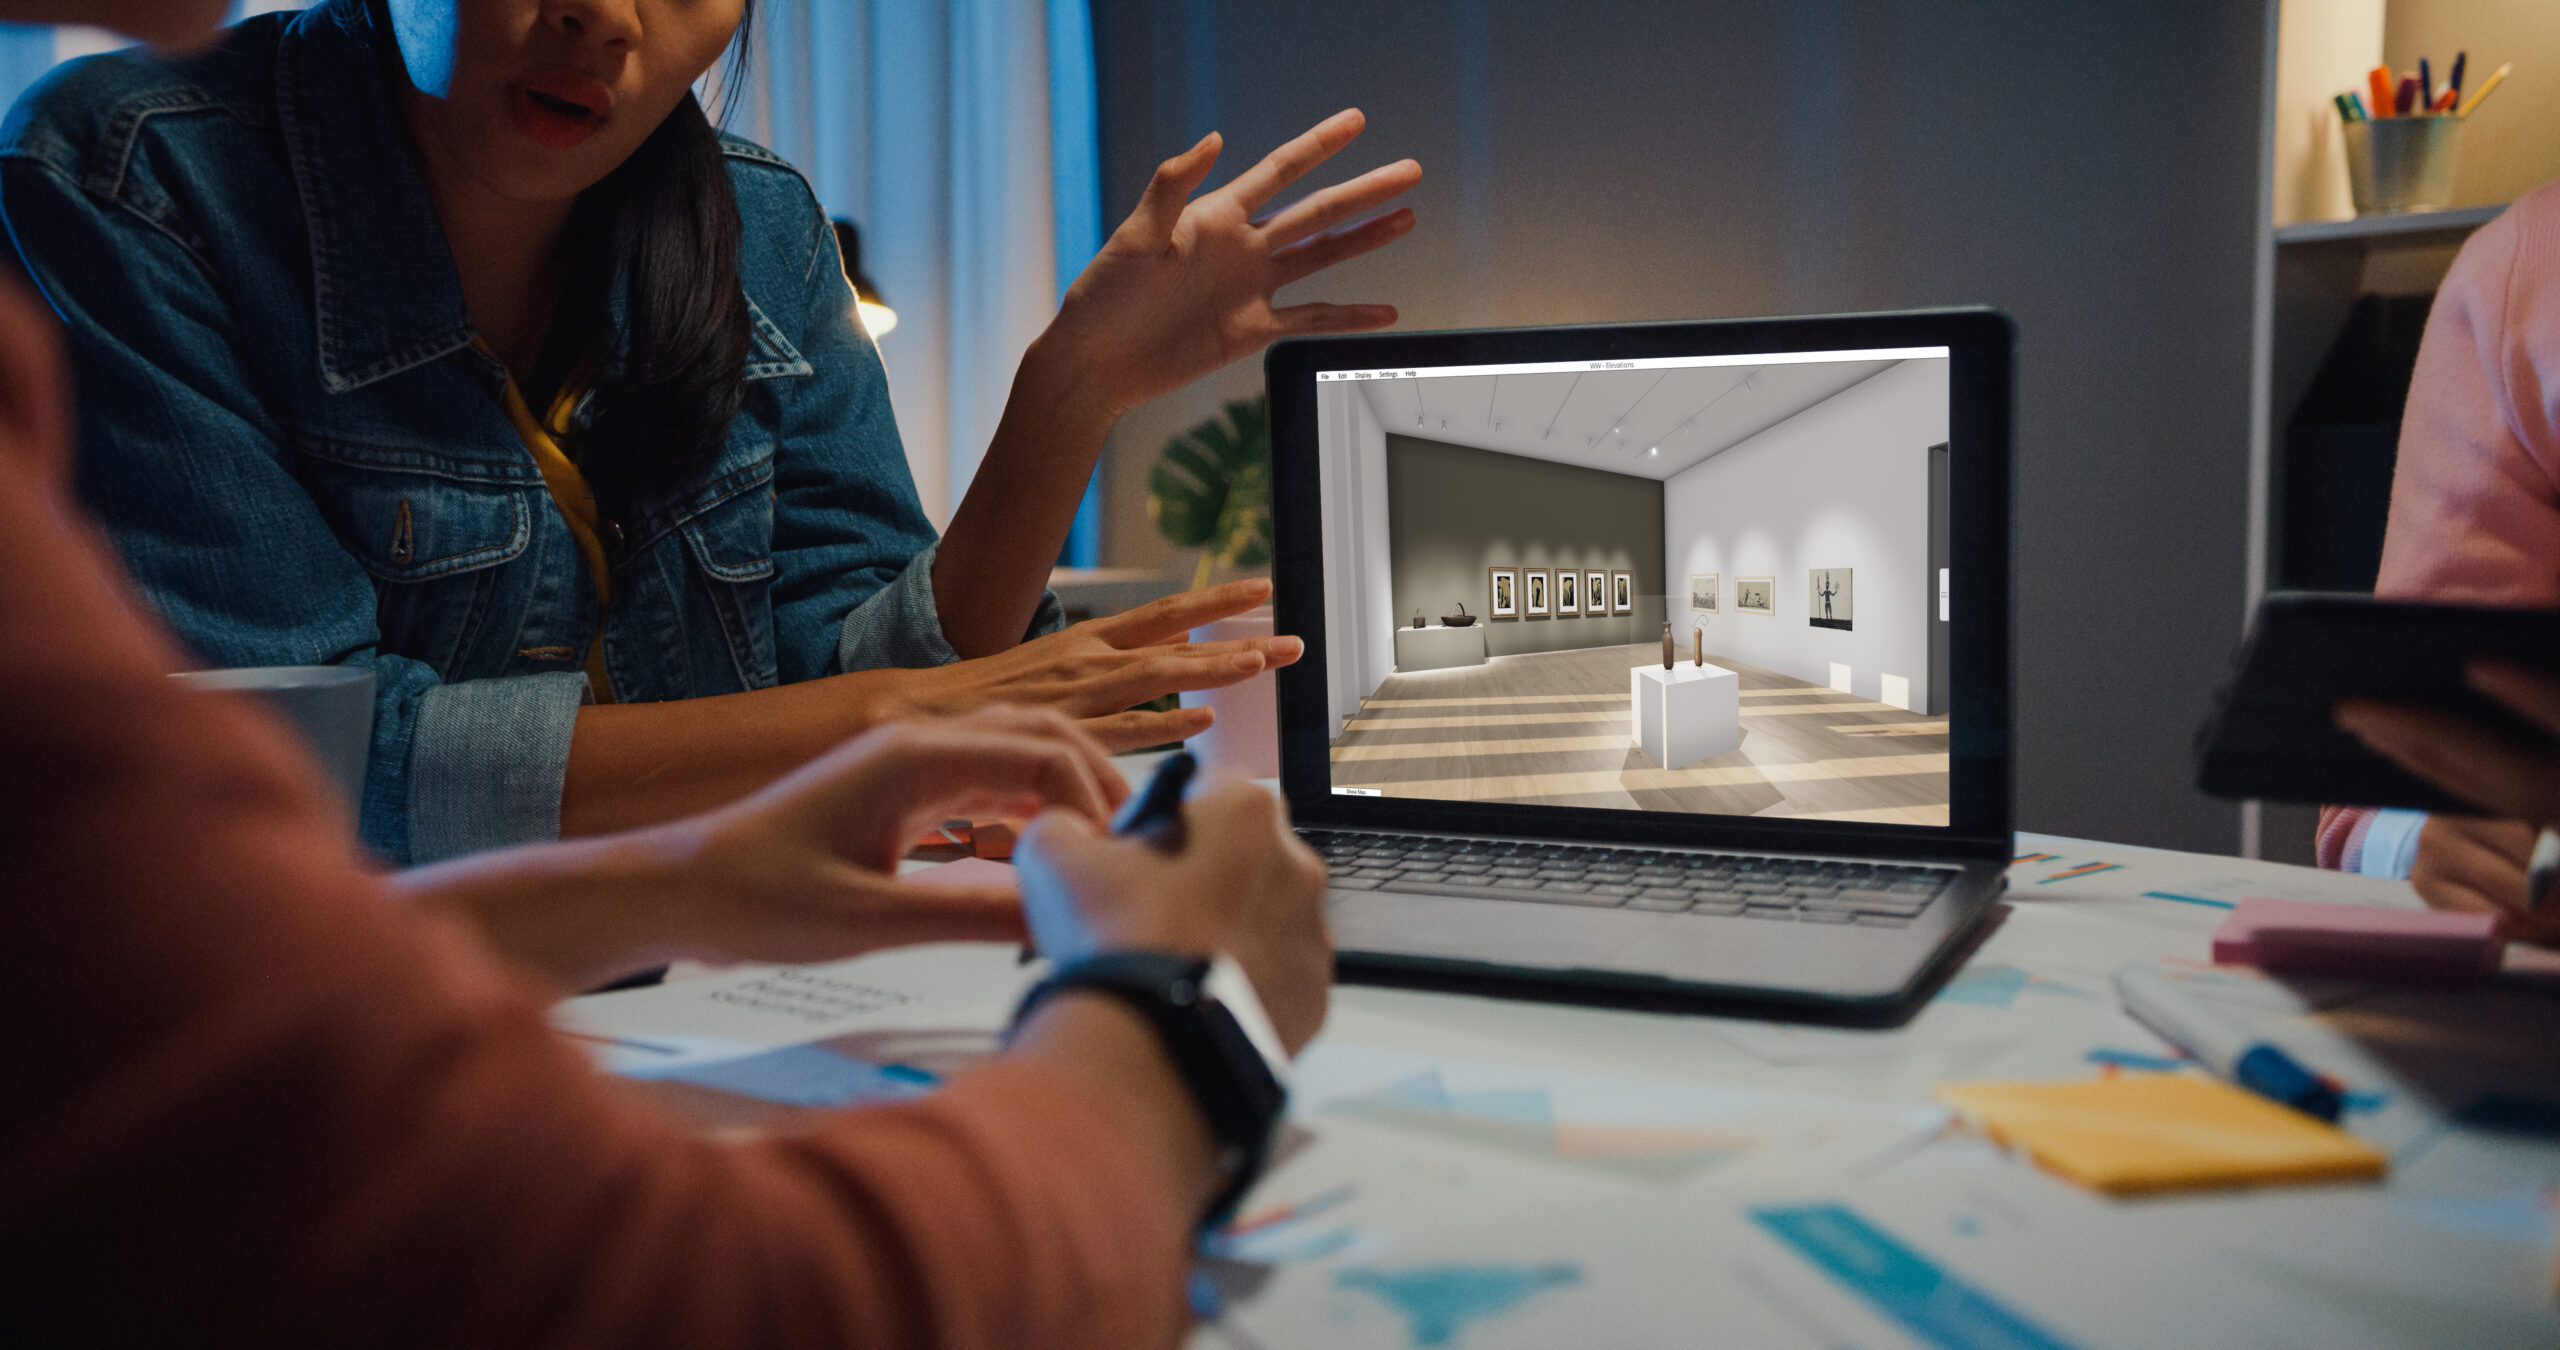
Arguably the most important, and at times, most difficult part of any digital project is defining why you are doing it and why in a particular form. You may well have a large collection and a lot of content to choose from but it is of not much value if you cannot contextualise and communicate it. Some common reasons for choosing to engage in a interactive digital project are:
- Increasing organisational visibility
- Engaging younger more digital savvy audiences
- Providing new ways to engage with audiences with your collections
- Exploring new revenue streams
These are but a few reasons why you would choose to embark on a digital project. The key issue here is always to define your audience. If your audience focus is too narrow (eg. 18 to 25 year olds) you will develop applications that may well exclude a wider audience. If your focus is too broad (everyone) you run the risk of project blow-out (all things to everyone) or a very average application that fails to properly engage. Our experience is that success lies in interest groups. Developing an interactive application around interest groups or topics has a better chance at successful engagement. Users that have an interest in the subject matter are more likely to engage and explore.
Part 2 – Define the Content

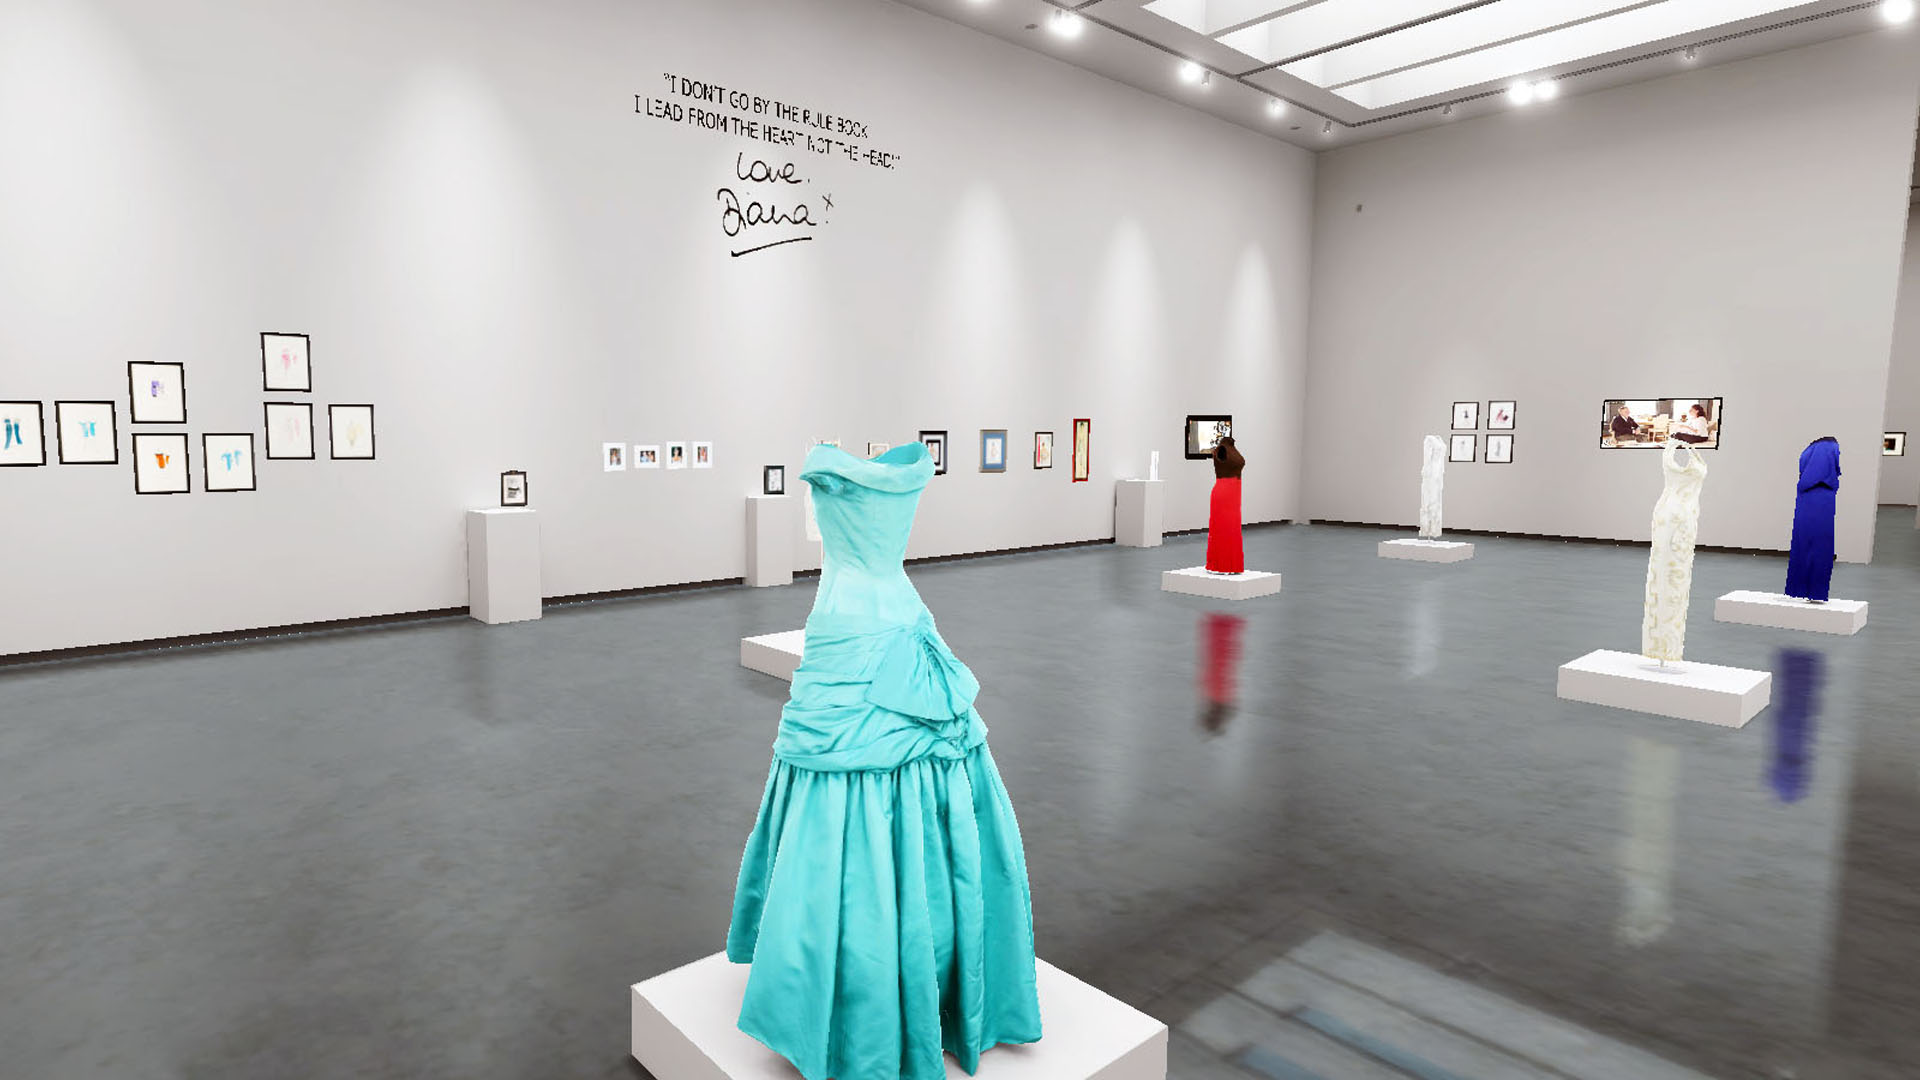
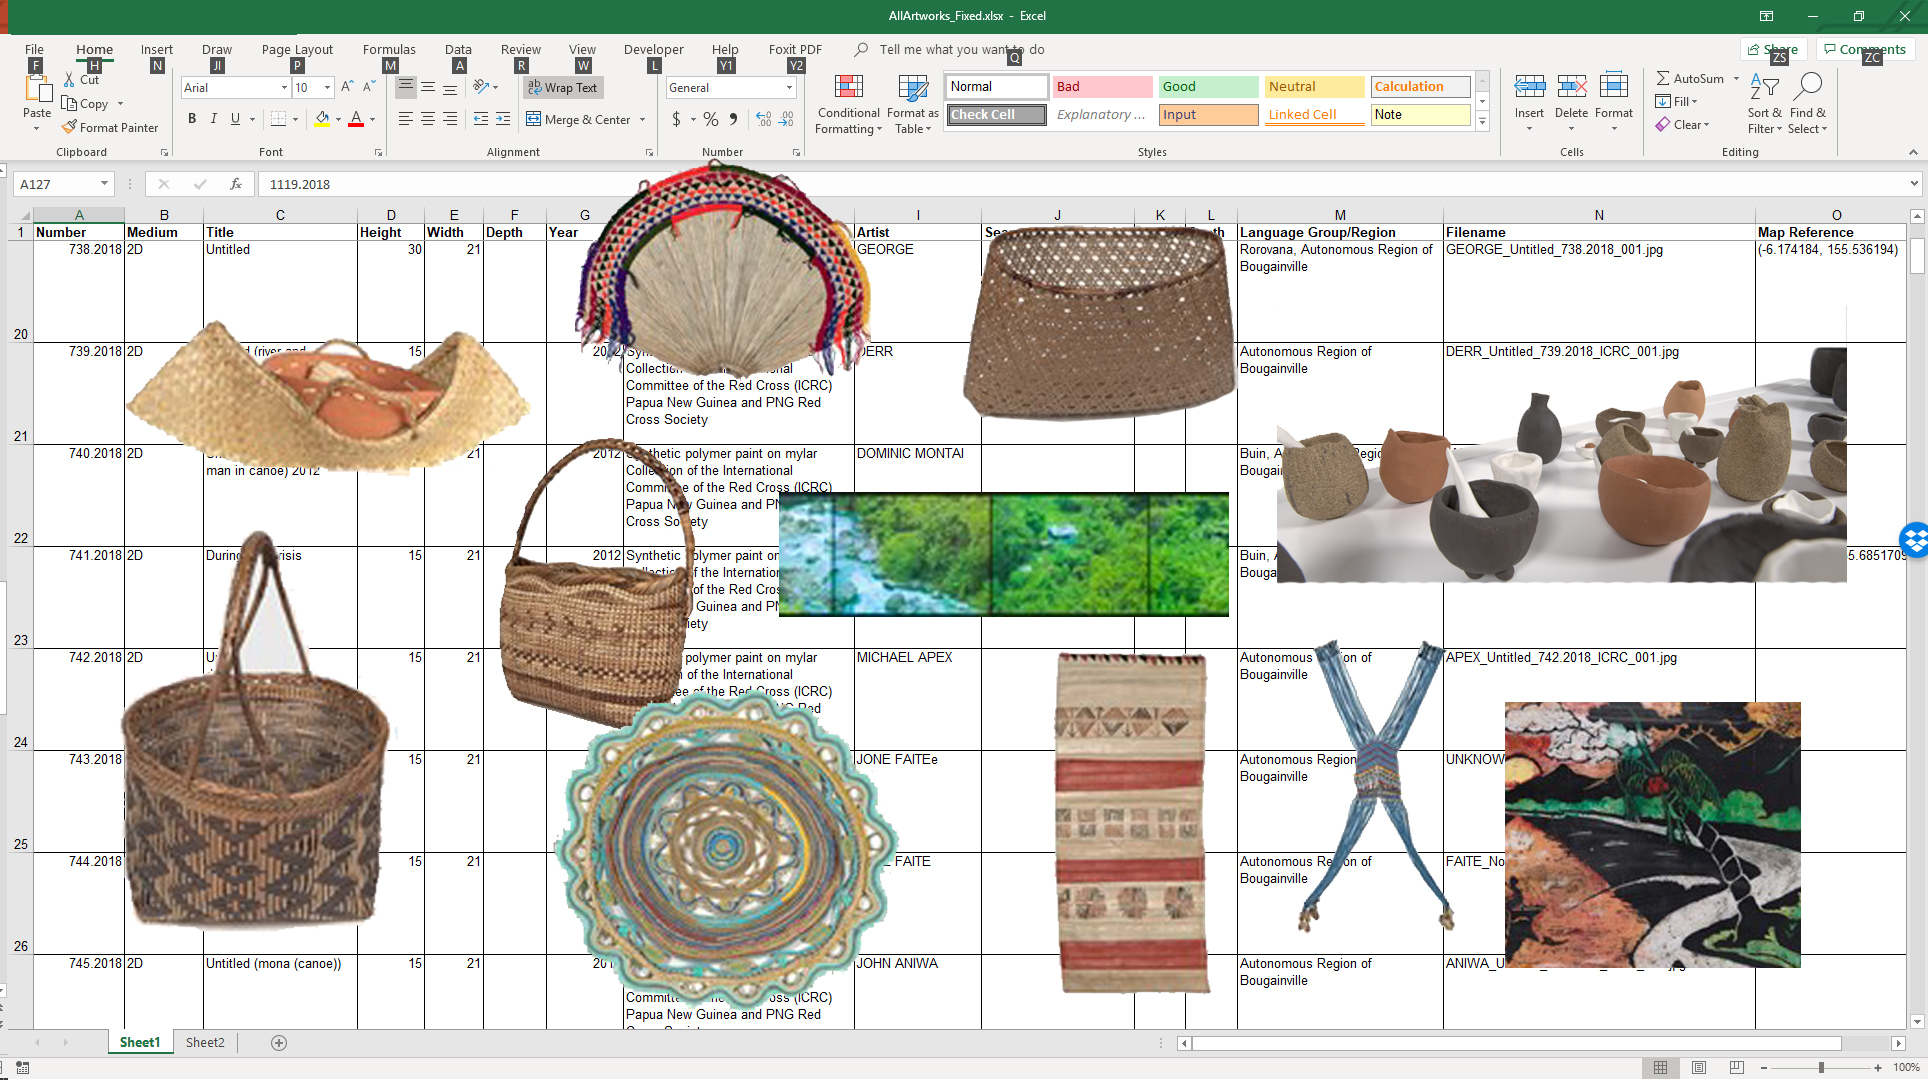
Having defined the need and the target audience we are in a stronger position to identify the content that is most appropriate for the proposed application. Identifying the content to be used leads to the question ‘How can this content be used?‘. Some content may transfer well to a 3D setting while others will not. Some object may be converted easily to digital form and may have potential for interactivity. For example a sculpture that can not only be viewed in 3D but has interactive information points that allow a deeper dive into the object. This can be part of an interactive exhibition or used as a stand-alone application. Conversely, a painting on a wall or a page from a book can not be interacted with in the same manner as a 3D sculpture. The point here is that you may well have multiple formats of objects and the key is how they are used together or individually. All this, will not only drive the project itself but, importantly, define what objects are captured and in what format.
Part 3 – Capturing your Content

At this point you can decide how your objects will be captured and converted. Methods can include:
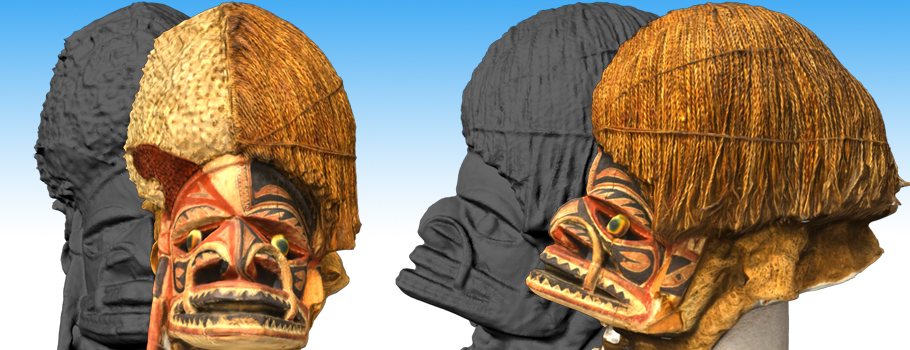
- Photogrammetry capture (Multiple photos used to create a 3D Object)
- 3D Scanning (Can be as inexpensive as a mobile capture device or a high-end laser scanner)
- 2D scanning or photography
Which method you choose is dependent on a number of factors. The main ones are:
- Cost
- Object Type
- Intended use
Cost – Any method of data capture will entail costs. These costs can be a significant part of a project. Typically employing high-end laser scanners for example is a costly undertaking. Laser scanning can produce highly detailed 3D models that are ideal for investigation, archiving and research but are not useable for web or light interactive applications.Laser scanning requires specialist equipment and personnel not only to capture the object but also to post-process. Post processing involves ‘cleaning’ the resulting model and delivering it in a format and size suitable for the intended application. Each step adds significant costs. Photogrammetry capture is a less expensive approach to capturing 3D content. Multiple images of an object can be used to create a 3D model. The main equipment required is a good quality digital camera and a controlled light environment. In general the major cost in this approach is the photography itself. As with Laser Scanning there is always a need for some level of post processing. Resulting models are ideal for viewing in interactive applications and on the web. The least expensive method of 3D object capture is using one of the many mobile devices such as the Apple Ipad Pro which has an inbuilt LiDAR scanner. Such tools allow rapid capture of 3D objects however are still subject to the need for post-processing before they can be used.
Object Type – Often an object will dictate how it can be captured. The materials and complexity of the object will influence how well it can be captured by a particular technology. In general objects that have shiny surfaces, are translucent or clear (glass), or are very dark (black velvet) are very difficult to capture with any scanning method. The important point here is that you should assess the objects you want to capture when you the define the content, it may well be that it is not possible to capture a particular object or that it is cost prohibitive. Better to know that well before the data capture starts and be able to select an alternative object to use.
Intended Use – The intended use of the object is one of the key drivers in deciding which capture path to go down. If you are looking to capture very high resolution 3D models for archiving, research or public dissemination your only real choice is high-end laser scanning. Laser scanning can achieve millimeter accuracy, something that is not possible with either photogrammetry or hand-held mobile devices. This also entails the subsequent post-processing and cleaning process which is, in itself, expensive. If the intended use is for web viewing, online interactive experiences and the like then either either photogrammetry or hand-held mobile device capture will suffice. There are still the associated costs of capture and post-processing to consider.
This post was intended as a broad overview of the issues you should consider when capturing 3D data for an intended application. In my next post I will talk about publishing your digital projects. In particular, I will walk through the process, talk about the issues, and provide some tips for a successful outcome.
