How Can We Help?
Setting Up the Gallery Space
Loading and Importing Galleries
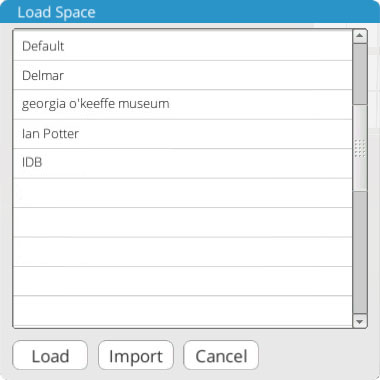
Ortelia Curator comes pre-loaded with a default gallery. The first time you open the application the default gallery work environment will be displayed. If you have your own Ortelia Curator gallery it can be loaded using the command ‘Load Space’ from the ‘File‘ drop-down menu.
 Loading Gallery Spaces in Ortelia Curator |
Click ‘Load Space‘ in the file menu. A dialogue box will appear listing the available spaces. Select your space and click the ‘Load’ button.
To import a new space – open the ‘Load Gallery‘ dialogue box. Click the ‘Import’ button if you have an Ortelia compatible space file. An ‘Open‘ dialogue box will appear. Navigate to where your new gallery is located. Select the gallery and click ‘Open‘ to continue. |
Note: The ‘Import’ routine does not import the external gallery space to the ‘Gallery’ list permanently. You will need to import the gallery each time you want to use it. (To add a gallery to your permanent list of galleries refer to the article Adding an External gallery to the Gallery List.)
Testing Time of Day
For spaces that have windows or entrances to the outside world, the ‘Time of Day’ function is useful for testing the effects of incoming light and the resulting shadows. The geographic location and orientation of the gallery is embedded the gallery model and the time of day slider will take this into account. (See the Ortelia Space Builder manual for setting geographic location and orientation)
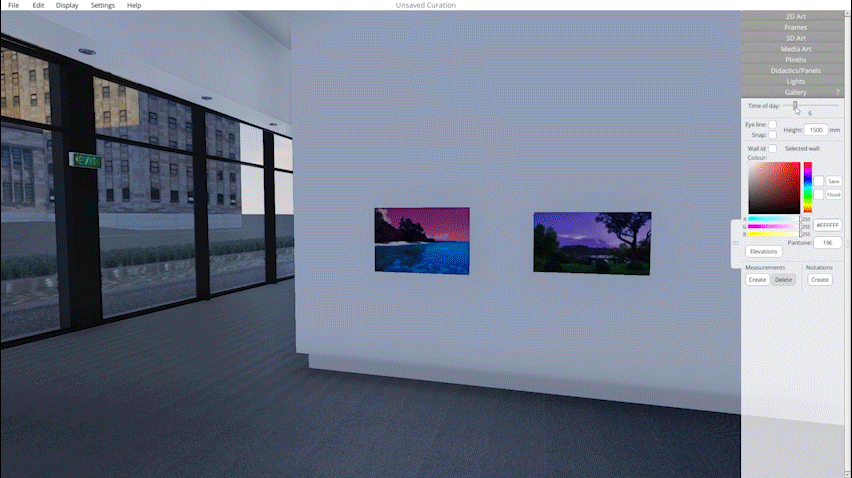
Testing time-of-day lighting in Ortelia Curator
Setting Hanging Height
The desired hanging height (eye-line) for an exhibition can be set by checking the ‘Eye Line‘ checkbox in the Gallery tab. The height of the eye line from the bottom of the wall can be adjusted by entering a value in millimeters. By checking the ‘Snap‘ checkbox artwork will snap to the eye line when placed on a wall.
When the ‘Eye Line‘ checkbox is enabled, a line, set to the desired height from the floor will appear throughout the entire gallery. The eye line can be turned off by un-checking the ‘Eye Line‘ checkbox. Artworks can be snapped to the eye-line if the ‘Snap’ checkbox is enabled.
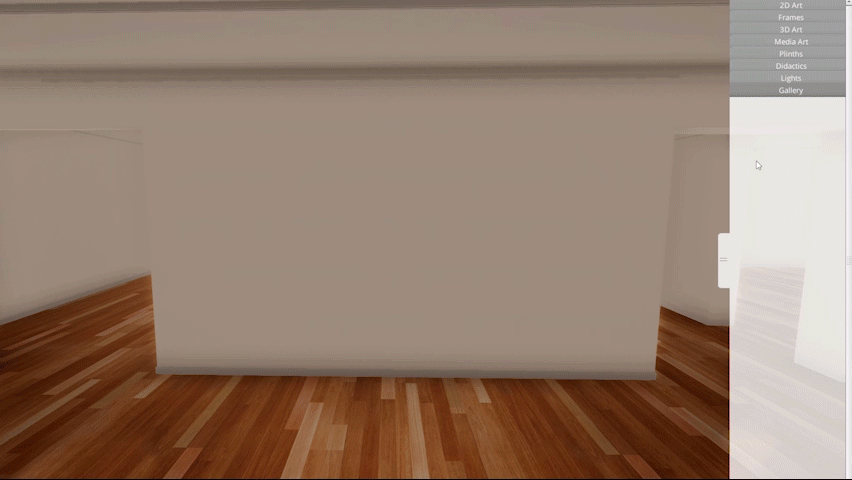
Enabling the eyeline in Ortelia Curator
Wall ID
Embedded wall identification numbers can be turned on and off by clicking on the ‘Wall ID‘ check box with the LMB. The example below shows the wall ID.
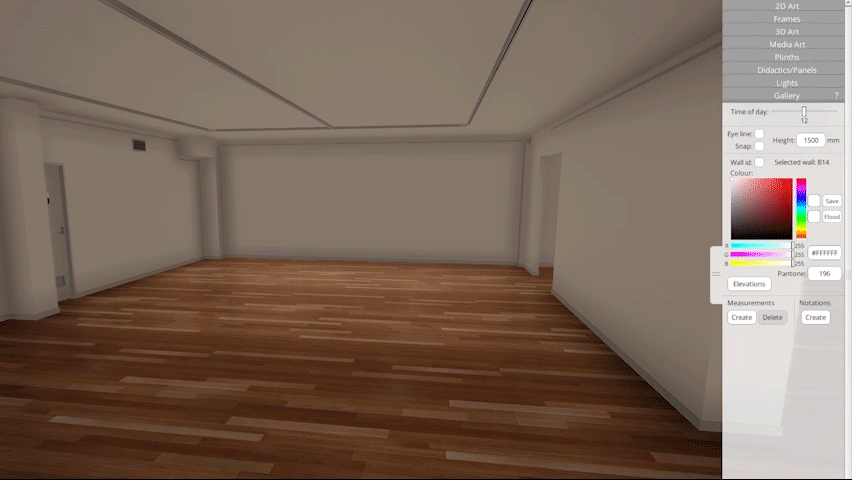
Enabling Wall ID’s in Ortelia Curator
Painting Walls
The wall painting dialogue section of the Gallery tab provides functionality for ‘painting’ walls in the space.
Click on the wall you want to paint to select it. Choose the required colour from the colour palette or select a colour from the colour bar by clicking and dragging the slider with the LMB. You can also manually enter a Pantone™ colour code using the input box.
To paint all the walls in the gallery with a single colour select the colour you want to use. Click the ‘Save‘ button. Click on the ‘Flood‘ button. All the paintable surfaces in the gallery will be painted with the selected colour. You can select a painted surface at any time and individually change the colour.
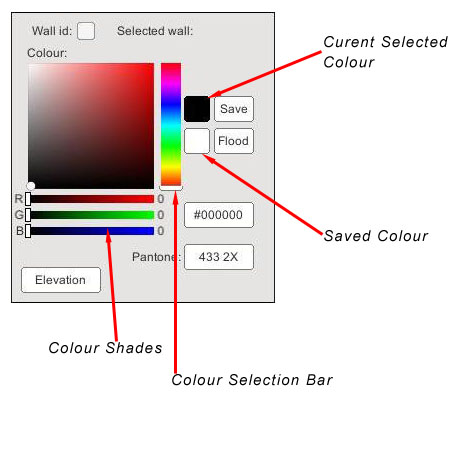 |

To paint all the walls in the gallery with a single colour select the colour you want to use, save it and then click on the ‘Flood‘ button. All the paintable surfaces in the gallery will be painted with the selected colour. You can select a painted surface at any time and change the colour following the procedure above.
Note: Make sure to save changes regularly