Getting Started with Ortelia Curator
Now that you're subscribed, let's get curating! Firstly, we need to download and install Ortelia Curator. Are you using a Windows PC or Mac running OSX? Windows PCMac OSXInstall on Windows
Great! Let’s install on Windows.
Firstly we’ll need to download the software, you can grab it below:

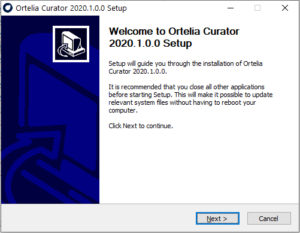
1. Once downloaded locate the installer file CuratorSetup.exe. Run the file by double clicking it using the Left Mouse Button. It is recommended that you exit all your other running programs. The Ortelia Curator installer window will appear. Click the ‘Next‘ button to begin the installation.
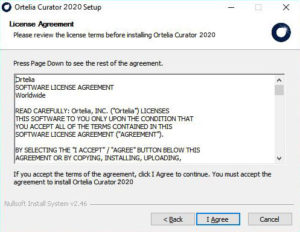
2. The License Agreement window will appear. You will need to click ‘I Agree’ in order to proceed with the installation of the software.
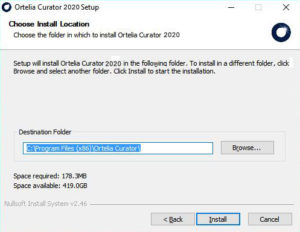
3. The next screen allows you choose the destination folder you would like to install to. You can choose the default location or a destination of your choice. Once you have chosen your destination click ‘Install’. It is recommended that you choose the default installation folder.
4. The Ortelia Curator Installation will begin and a bar will show the installation progress.

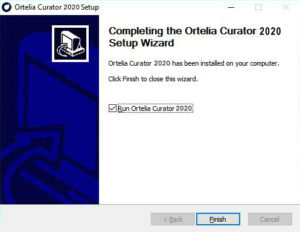
5. When the installation completes a confirmation window will appear. Click ‘Finish’ to close the installation window. You can now activate your license and begin using Ortelia Curator!
6. The first time you run Ortelia Curator you will be presented with the software license screen.
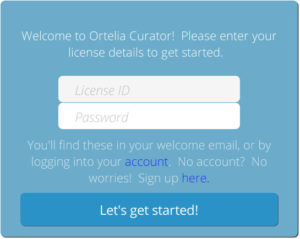
7. Enter your License ID and Password which you received in your email confirmation. Click on the ‘Let’s get started!’ button. The software will check your license details and launch Ortelia Curator if everything is in order.
Install on Mac
Great! Let’s install on Mac OSX.
Firstly we’ll need to download the software, you can grab it below:

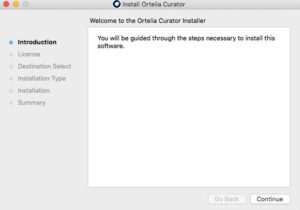
1. Once downloaded locate the installer file OrteliaCurator.pkg which usually ends up in your Desktop or Downloads folders. Double click the ‘OrteliaCurator.pkg’ icon to start the installation.
2. The Installer information screen will appear. Click ‘Continue’
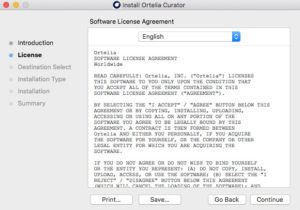
3. The License Agreement window will appear. You will need to click ‘Continue’ in order to proceed with the installation of the software.
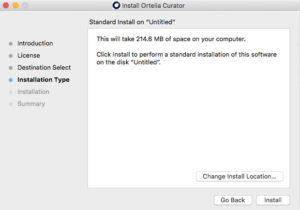
4. The information window will appear detailing the space required. You can also choose to install to a folder other than the default. It is recommended that you choose the default installation folder.
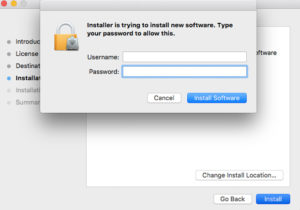
5. You may be required to enter your computer username and password to proceed.
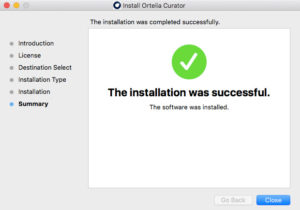
6. If the installation is successful, the following window will appear. You are now ready to activate your software and start designing!
6. The first time you run Ortelia Curator you will be presented with the software license screen.
7. Enter your License ID and Password which you received in your email confirmation. Click on the ‘Let’s get started!‘ button. The software will check your license details and launch Ortelia Curator if everything is in order.